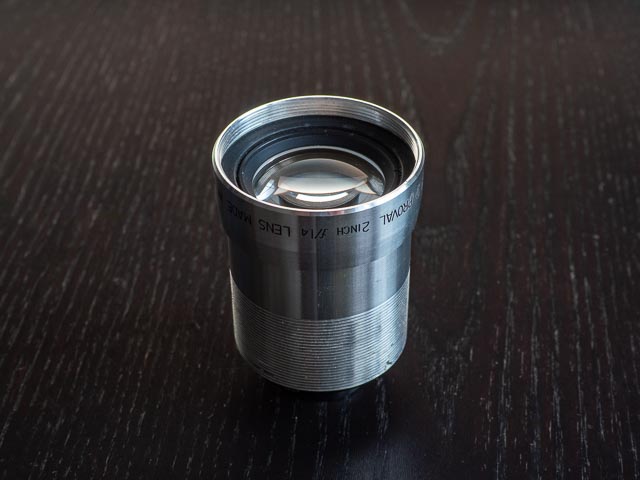
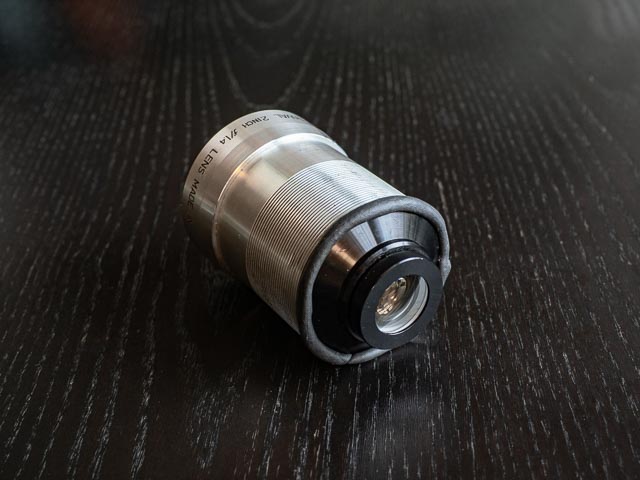
Bell & Howell Super D Proval 2inch f/1.4
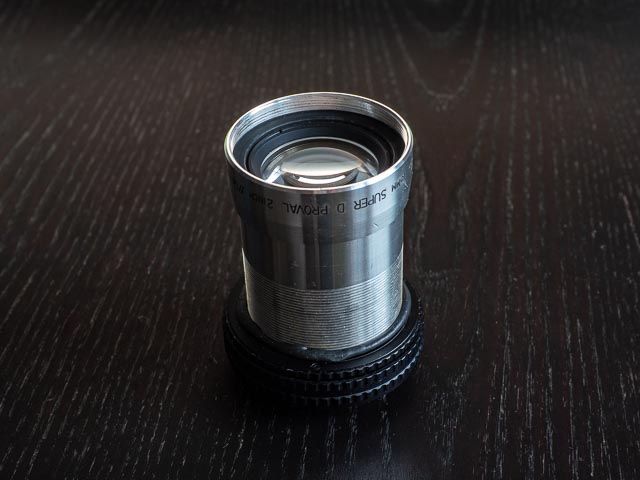
Bell & Howell Super D Proval 2inch f/1.4 lens unmounted
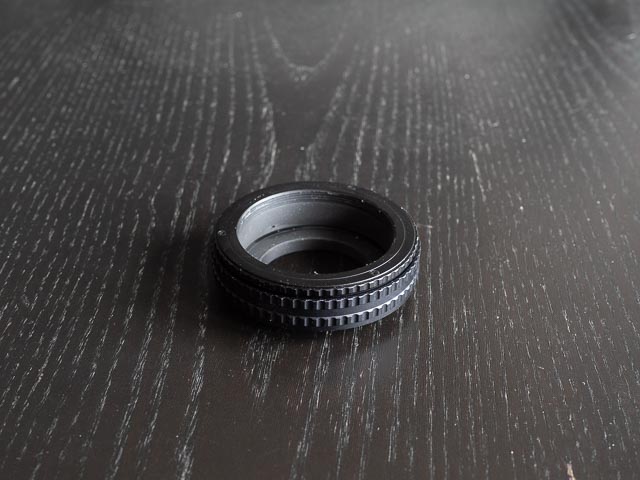
Bell & Howell Super D Proval 2inch f/1.4 adapted and ready to use on Canon RF mount
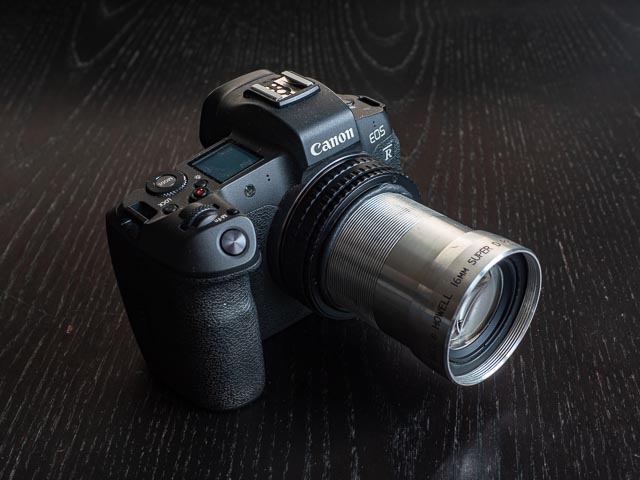
Bell & Howell Super D Proval 2inch f/1.4 mounted on a Canon EOS R camera
If you just want to see some photographs, skip straight to the results section.
The lens being adapted here is a Bell & Howell Super D Proval 2inch f/1.4 lens from a 16mm cine projector. This lens is very similar to one of my other 16mm cine projector lenses; the Bell & Howell 2 inch/51mm f/1.2. So pretty much everything I wrote about that lens applies to this one too, including the list of things you'll need to mount it on a modern mirrorless digital camera:
-
 A focusing helicoid designed to mount an M52 screw mount lens on an M42 screw mount camera with a extension range of 17-31mm.
 Even with a focussing helicoid that is much shorter than those I use for other lenses, the Bell & Howell lens won't focusing on anything more than about 80-90cm away. But like I said, that's OK… it can still produce beautiful abstract close-ups.
-
 Black Tack
Black Tack (sometimes known as photographer's putty) is more expensive than the more common Blu Tack, but it's much stickier, and of course it's black, so it is less visible once you've built your lens. The lens sits on the helicoid, rather than in it, so all that is holding it in place is the Black Tack, to the extra stickiness is quite important.
-
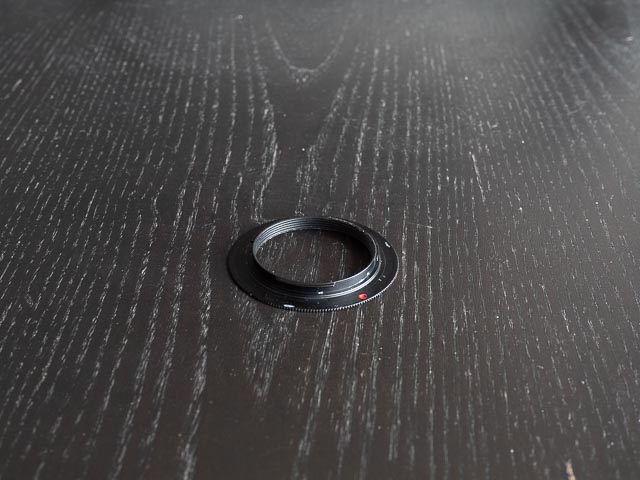 Slim M42 to adapter for your camera.
These M42 slim adapters are specifically designed for mounting a focusing helicoid to a mirrorless camera. The slim M42 adapter shown here is a slim M42 to Sony E adapter, but these adapters are available for most common mirrorless lens mounts. In fact I have now switched from a Sony E mount camera to a Canon EOS R with the Canon RF mount, so I actually used a slim M42 to Canon RF adapter.
Method
The method for building this lens is very simple: just put a ring of Black Tack around the projector lens where it will sit on the focusing helicoid to hold it in place. When using an M52 helicoid, the lens will sit on the helicoid rather than in it, so the extra stickiness of the Black Tack (compared to the more common Blu Tack) will help it stay in place, though care must still be taken when using your adapted lens in case it starts to come loose. Next, place the projector lens on end of the focussing helicoid with the female screw thread. Finally, screw the focusing helicoid into an ultra-slim M42 adapter. And your lens is then complete… just mount it to your camera like you would any other lens.
Notes on using your adapted projector lens
If your camera says you have no lens attached after you have mounted it on your camera, see you'll need to set you're camera to fire without a lens attached; see General notes on using adapted lenses for more information.
As mentioned above, the Black Tack is all that is holding it in place, so care must be taken when using your lens in case it starts to come loose, particularly in the field. You can use your camera's manual focusing aids to focus just like with any other manual focus lens. And bear in mind that this lens won't focus further away than about 80-90cms, so macro style images are the order of the day. If you're having trouble achieving focus, you probably just need to move closer to your subject.
Results
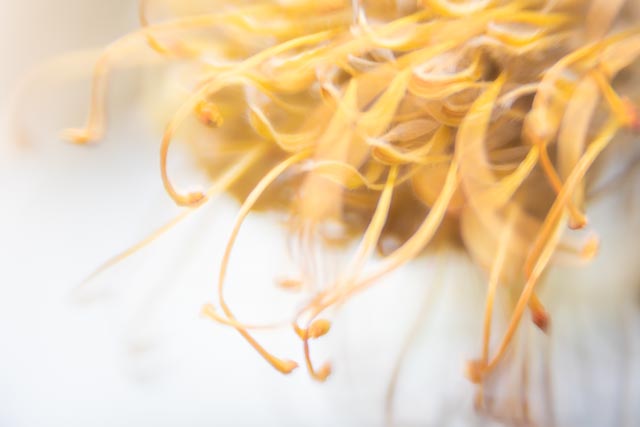
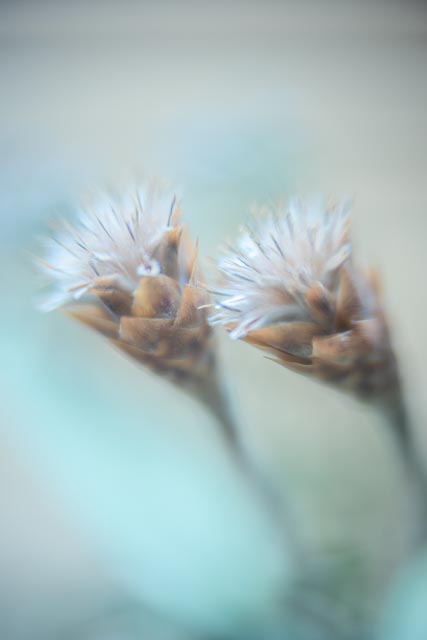
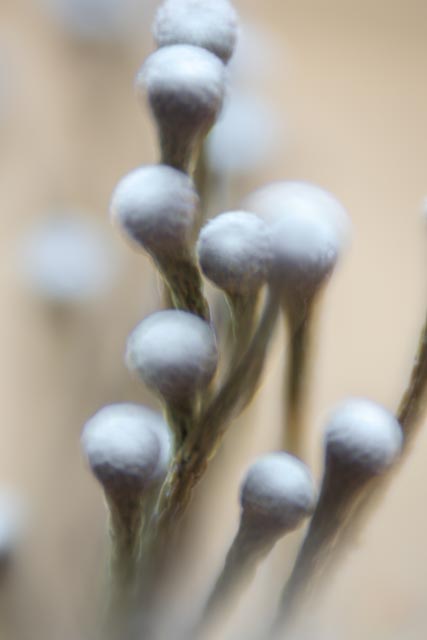
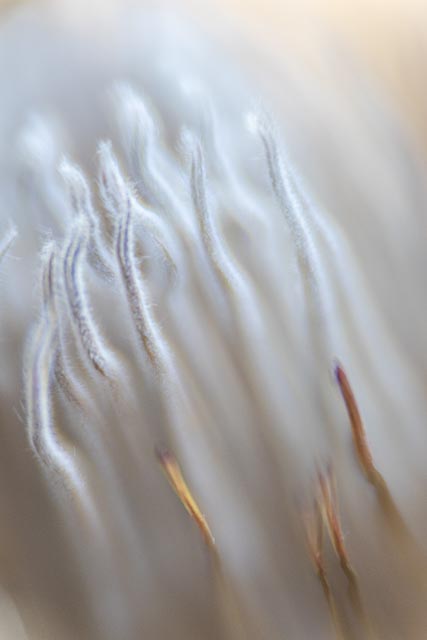
This lens is going to produce some pretty funky results that will be quite different to what you may be used to with a purpose built camera lens.
A lens like this will result in photographs that are quite different from those produced by a conventional camera lens. Expect soft, dreamy, semi abstract images. I found this lens was a bit softer than the Bell & Howell 2 inch/51mm f/1.2, but produced less vignetting on the full frame sensor of my Canon EOS R. But you'll still have a fair bit of vignetting to correct in Lightroom (or your preferred software).
All these images were shot in doors and hand held, so focussing errors and camera shake have contributed to the softness. In fact one or two of these images could even be classified as I.C.M.! But since painterly semi-abstraction is the aim, I don't think this is a problem.